

2. If you never register any account on staging.jcimalaysia.cc before, please click ‘Create an account’ below the ‘Sign in’ button.

3. Fill up all your personal information on the registration form and click ‘Sign up’.

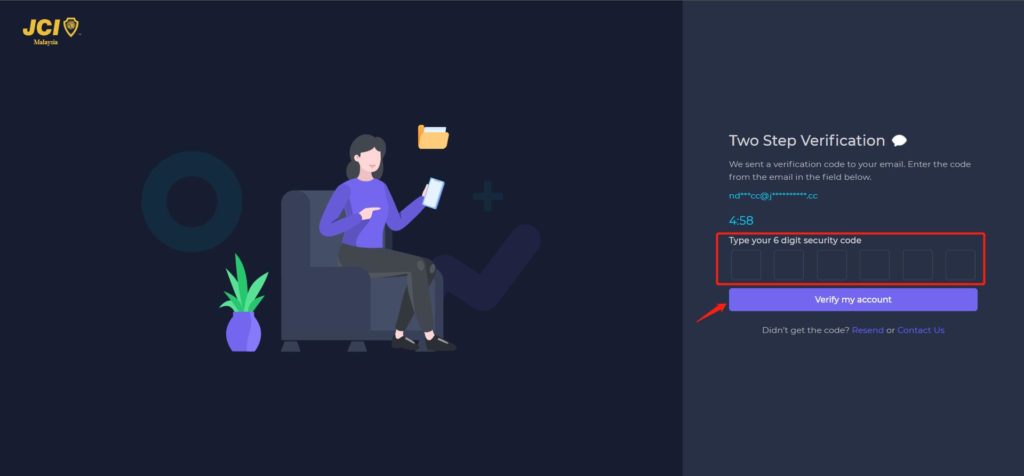
4. You’ll receive an email for verification. Simply click the link and enter the code to verify your email.

5. Enter the code then click ‘Verify my account’ to proceed.
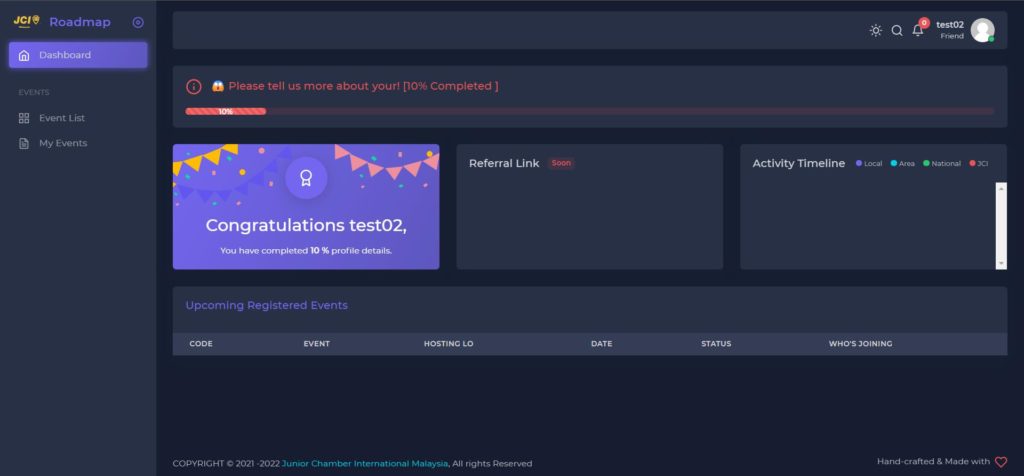
6. Congratulations! You are now logged in to JCIM Roadmap as JCI Friend.
7. Please follow the ‘Login & Update Your Profile’ to update your Local Organization properly.

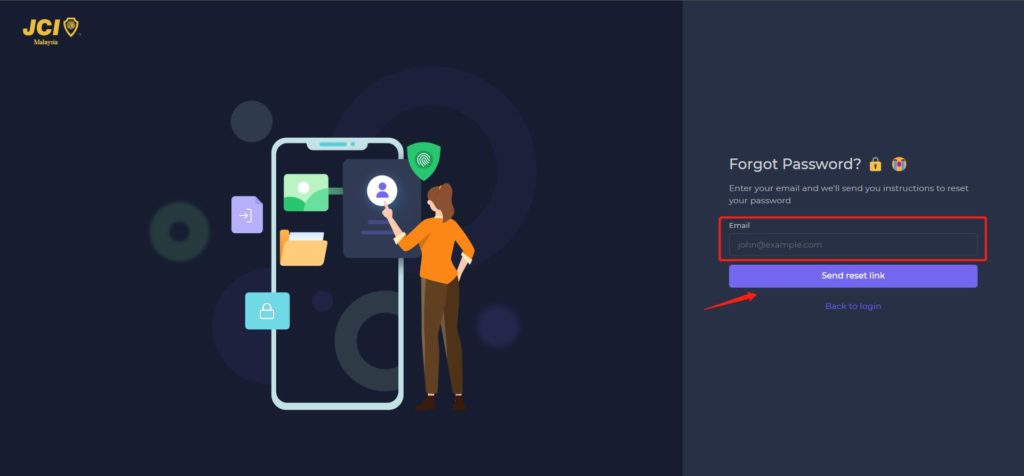
2. Enter your email, then click ‘Send reset link’.
3. You’ll receive an email to reset your password. Please click the link and enter the verification code accordingly.

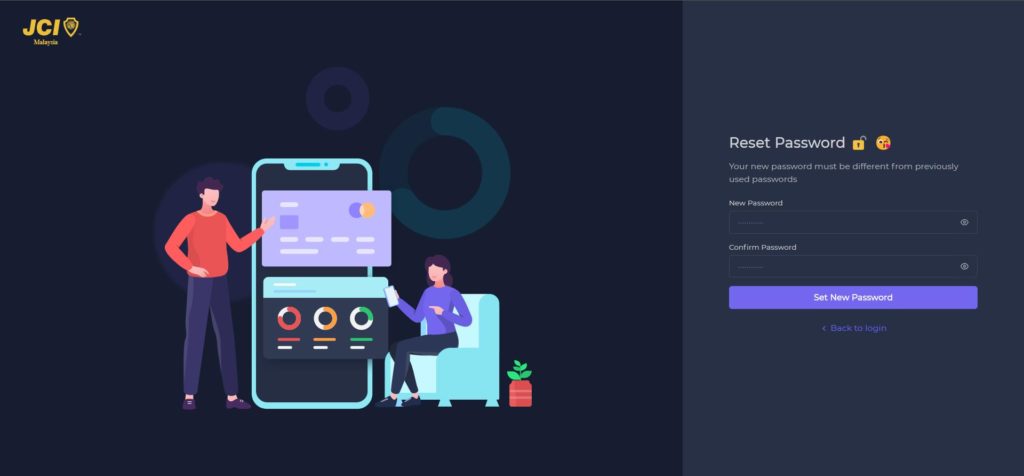
4. Enter your new password twice and click ‘Set New Password’.
5. Then, login with your new password.

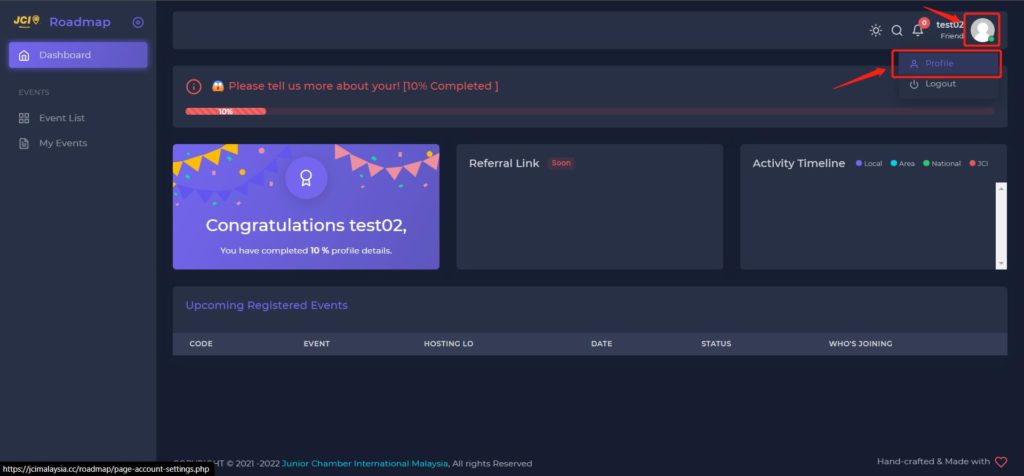
1. Once your login to your JCIM Roadmap account, click on the top right and click ‘Profile’.
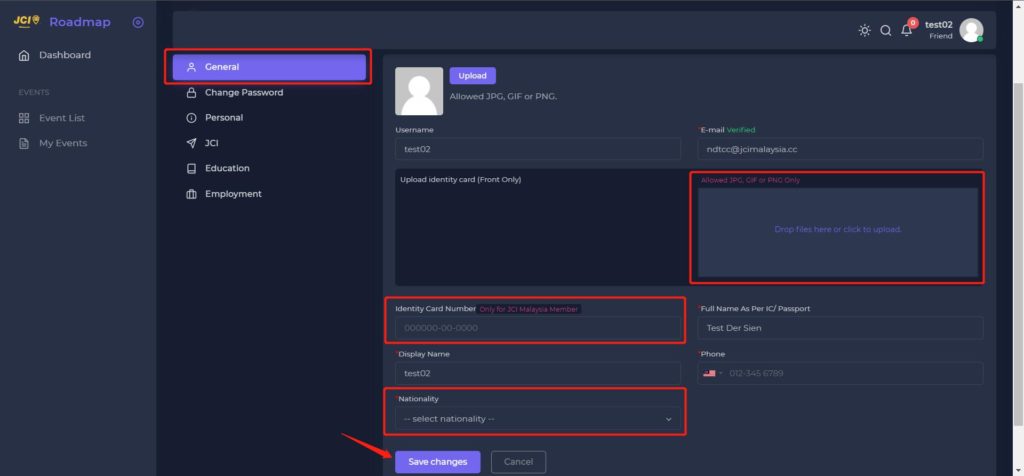
2. Go to ‘General’ and upload your identity front page and enter your identity number. (System will automatically add hyphens in between) Don’t forget to hit the ‘Save changes’ button.
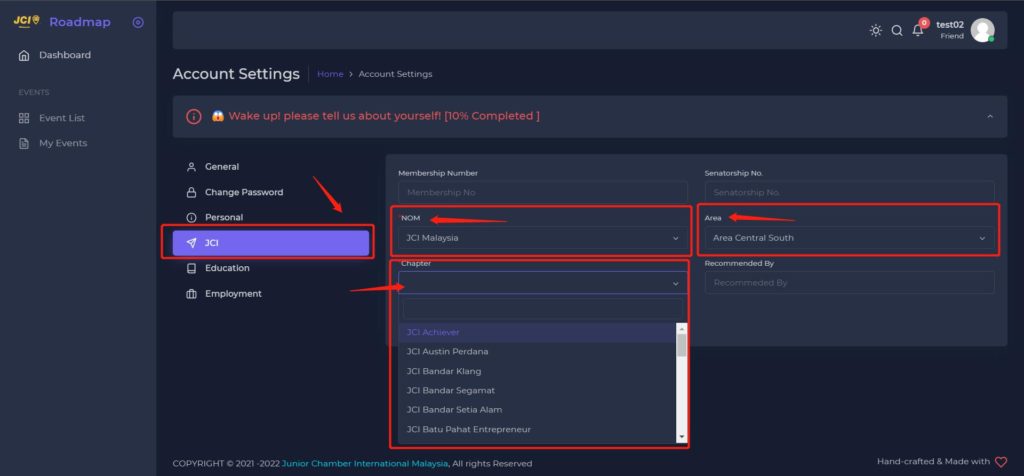
3. If you are JCI Friend, please update your ‘JCI’ Section properly in order for LO Admin to verify your identity and approve you as a JCI Member. (Choose JCI Malaysia in NOM, then choose your respective Area, you will see all the LO list under Chapter)
1. Visit https://staging.jcimalaysia.cc/roadmap for the login page. (LO Admin & Personal is a different account, kindly logout your personal account first before using the LO Admin features)
2. Enter your LO Admin credential to login as LO Admin.

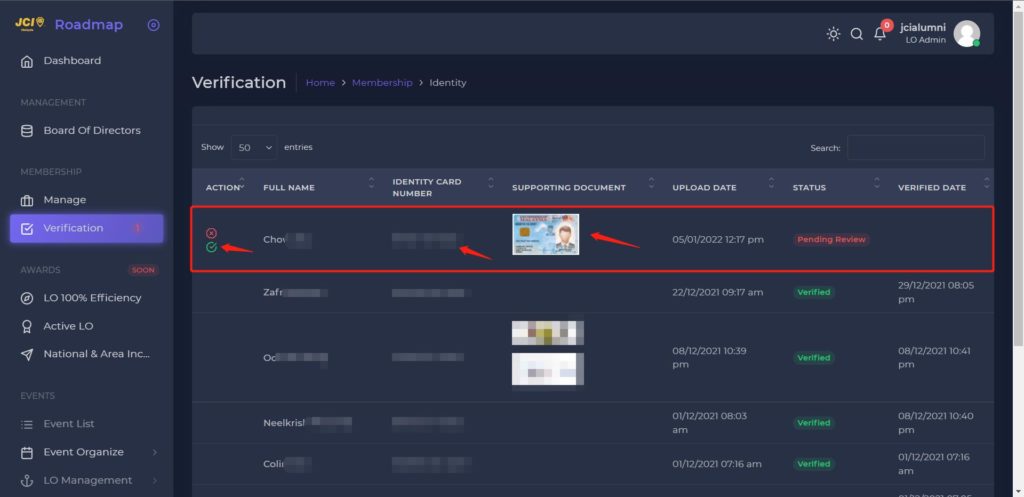
3. First, go to ‘Verification’ section to verify your LO users identity.
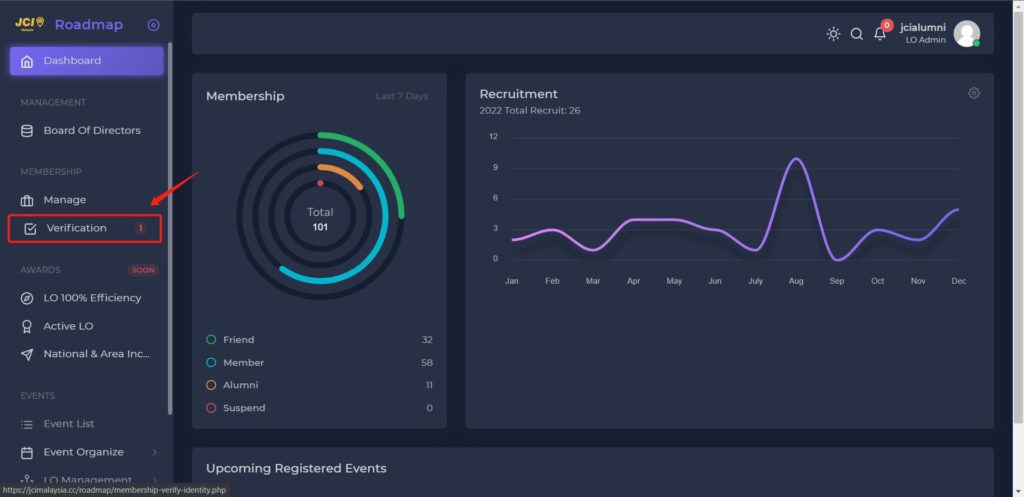
4. You will see all the users verification list in this section. Click on the ‘green tick’ if the user’s identity information is correct.
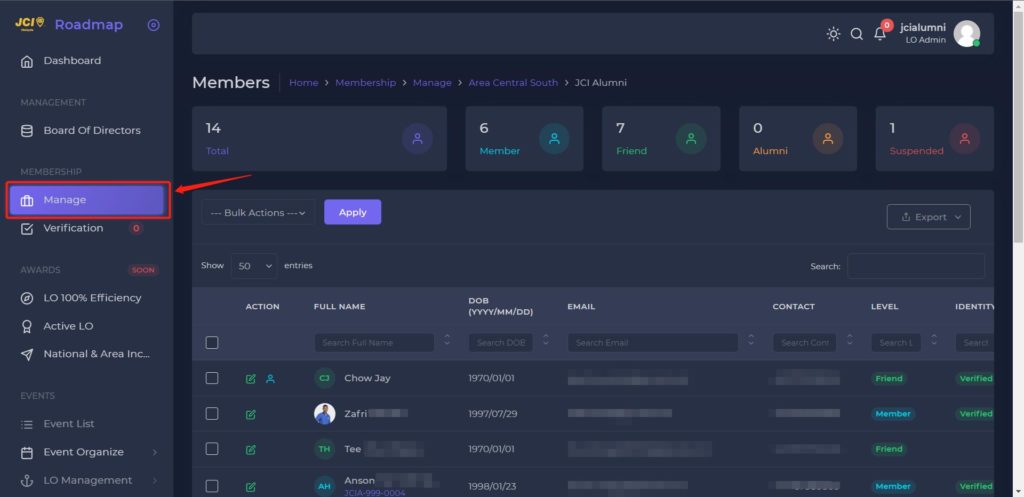
5. Once you have verified the user, kindly go to ‘Manage’ section to assign your LO’s membership to user.
Please assign your LO membership carefully. Once you assign a JCI Membership to a specific user, the membership is valid for one year (1 Jan to 31 Dec). Please be warned that this action cannot be undone.
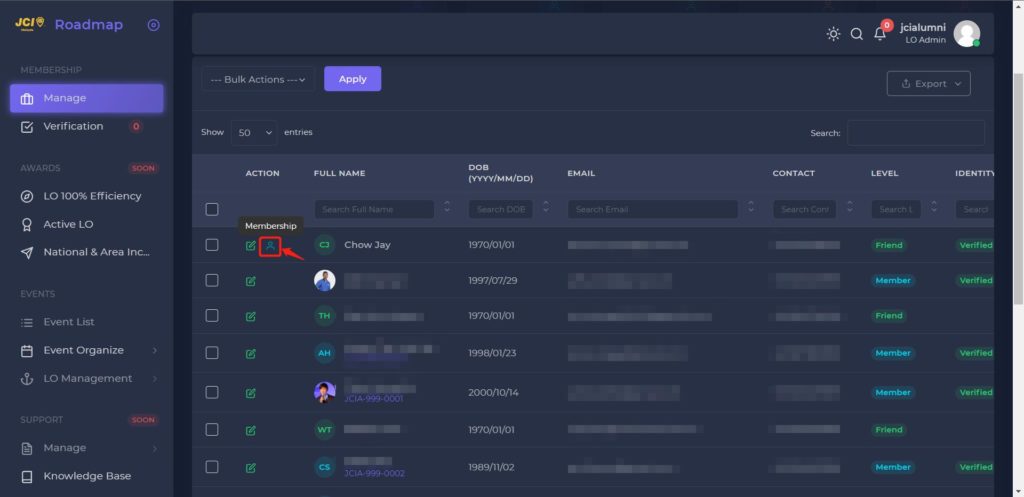
6. Click on the ‘Blue icon’ under Action column to assign a JCI Membership to that particular JCI Friend.
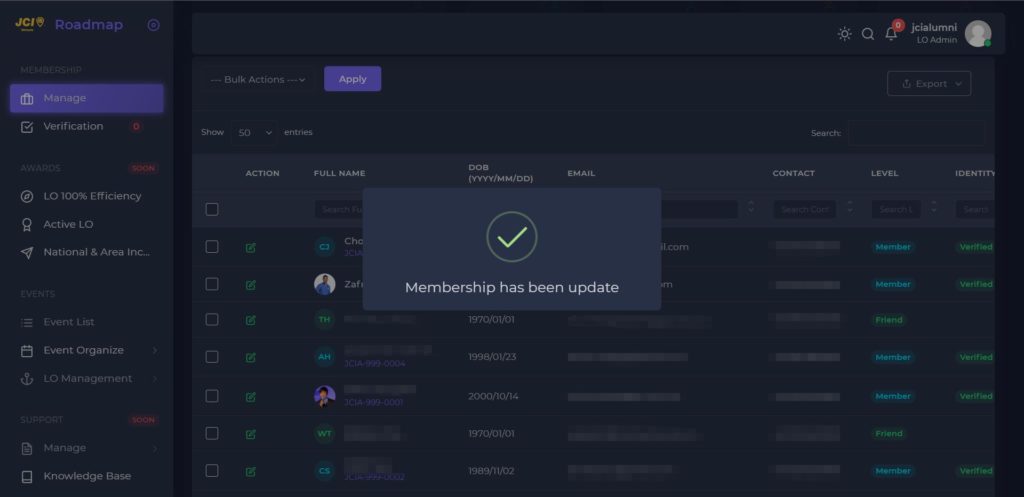
7. Then the system will prompt a message regarding the membership has been updated successfully.
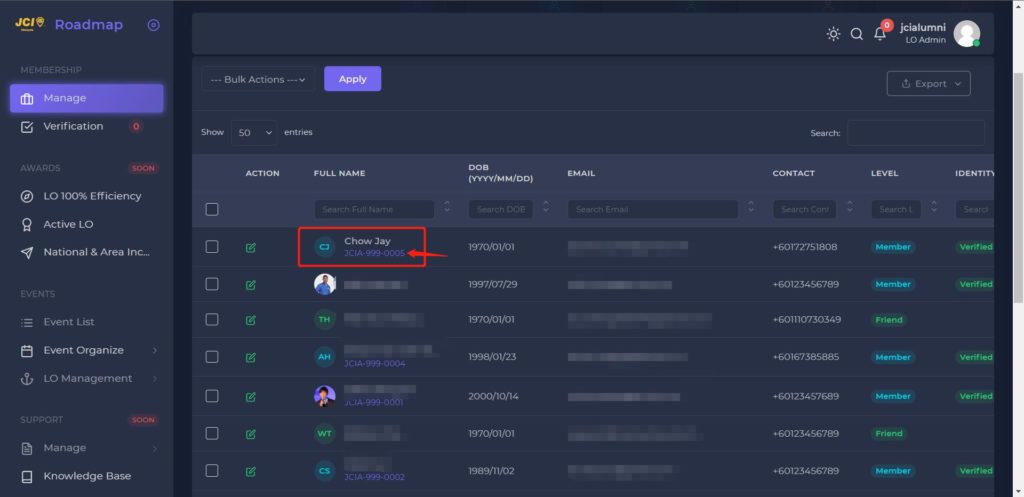
8. After the membership has been assigned to a JCI Friend, the JCI Friend is now became JCI Member. The system will auto-generate a member ID for all JCI Member.
That’s it! You have successfully assigned a JCI Membership for your Local Organization. If you having other question or shall you require any clarification, kindly email to [email protected].